The Food Blog
The Secret to Baking the Perfect Pie Crust
Making a good pie crust is an art, and all good art is made with precision and patience and with a little practice. You could be making a classic apple pie or trying out a filling that’s a little quirkier. The pie crust is the foundation that makes or breaks the dessert. A crisp, golden, pliable, buttery crust is the perfect complement to any pie filling. But how do you get to that ideal texture and taste?
What are the secrets to the pie crust recipe? Do you have any flaky pie dough tips? What are the best homemade pies you will ever bake? So, if you’ve ever had trouble with tough or soggy crusts, read on for tips on how to bake the perfect pie crust every time.
Why Is the Pie Crust So Important?
The pie crust plays a crucial role in the overall success of a pie. It serves as both the container and a complementary element to the filling. A good crust balances richness, flakiness, and tenderness, allowing the pie’s flavours to shine through. When made correctly, it enhances the pie without overpowering the fillings, adding texture and bite.
However, a poorly made crust can turn an otherwise perfect pie into a disappointing dessert. Common issues like tough or soggy crusts can be avoided with the right technique, and that’s what we’ll dive into.
The Basics of a Perfect Pie Crust Recipe
Before we get into the details of the technique, let’s start with the fundamentals: the ingredients. Here’s a simple yet effective pie crust recipe that you can use for most pie varieties.
Ingredients:
- 2 ½ cups all-purpose flour
- 1 tsp salt
- 1 cup unsalted butter (cold, cut into small cubes)
- ¼ cup ice-cold water
Instructions:
- Combine dry ingredients: In a large bowl, mix the flour and salt.
- Cut in the butter: Add the cold, cubed butter to the flour mixture. Use a pastry cutter or your fingers to mix the butter into the flour. Keep going until it looks like coarse crumbs with small, pea-sized butter clumps.
- Add water: Gradually add ice-cold water, one tablespoon at a time, mixing gently with a fork. Continue until the dough begins to come together but isn’t too wet or sticky.
- Form the dough: Turn the dough out onto a floured surface and gently knead it into a ball. Flatten it into a disc, wrap it in plastic, and refrigerate for at least one hour before rolling it out.
By following these basic steps, you’ll have a solid pie crust recipe. But to truly make it perfect, there are a few essential flaky pie dough tips that will elevate your pie crust to the next level.
Flaky Pie Dough Tips
1. Use Cold Ingredients
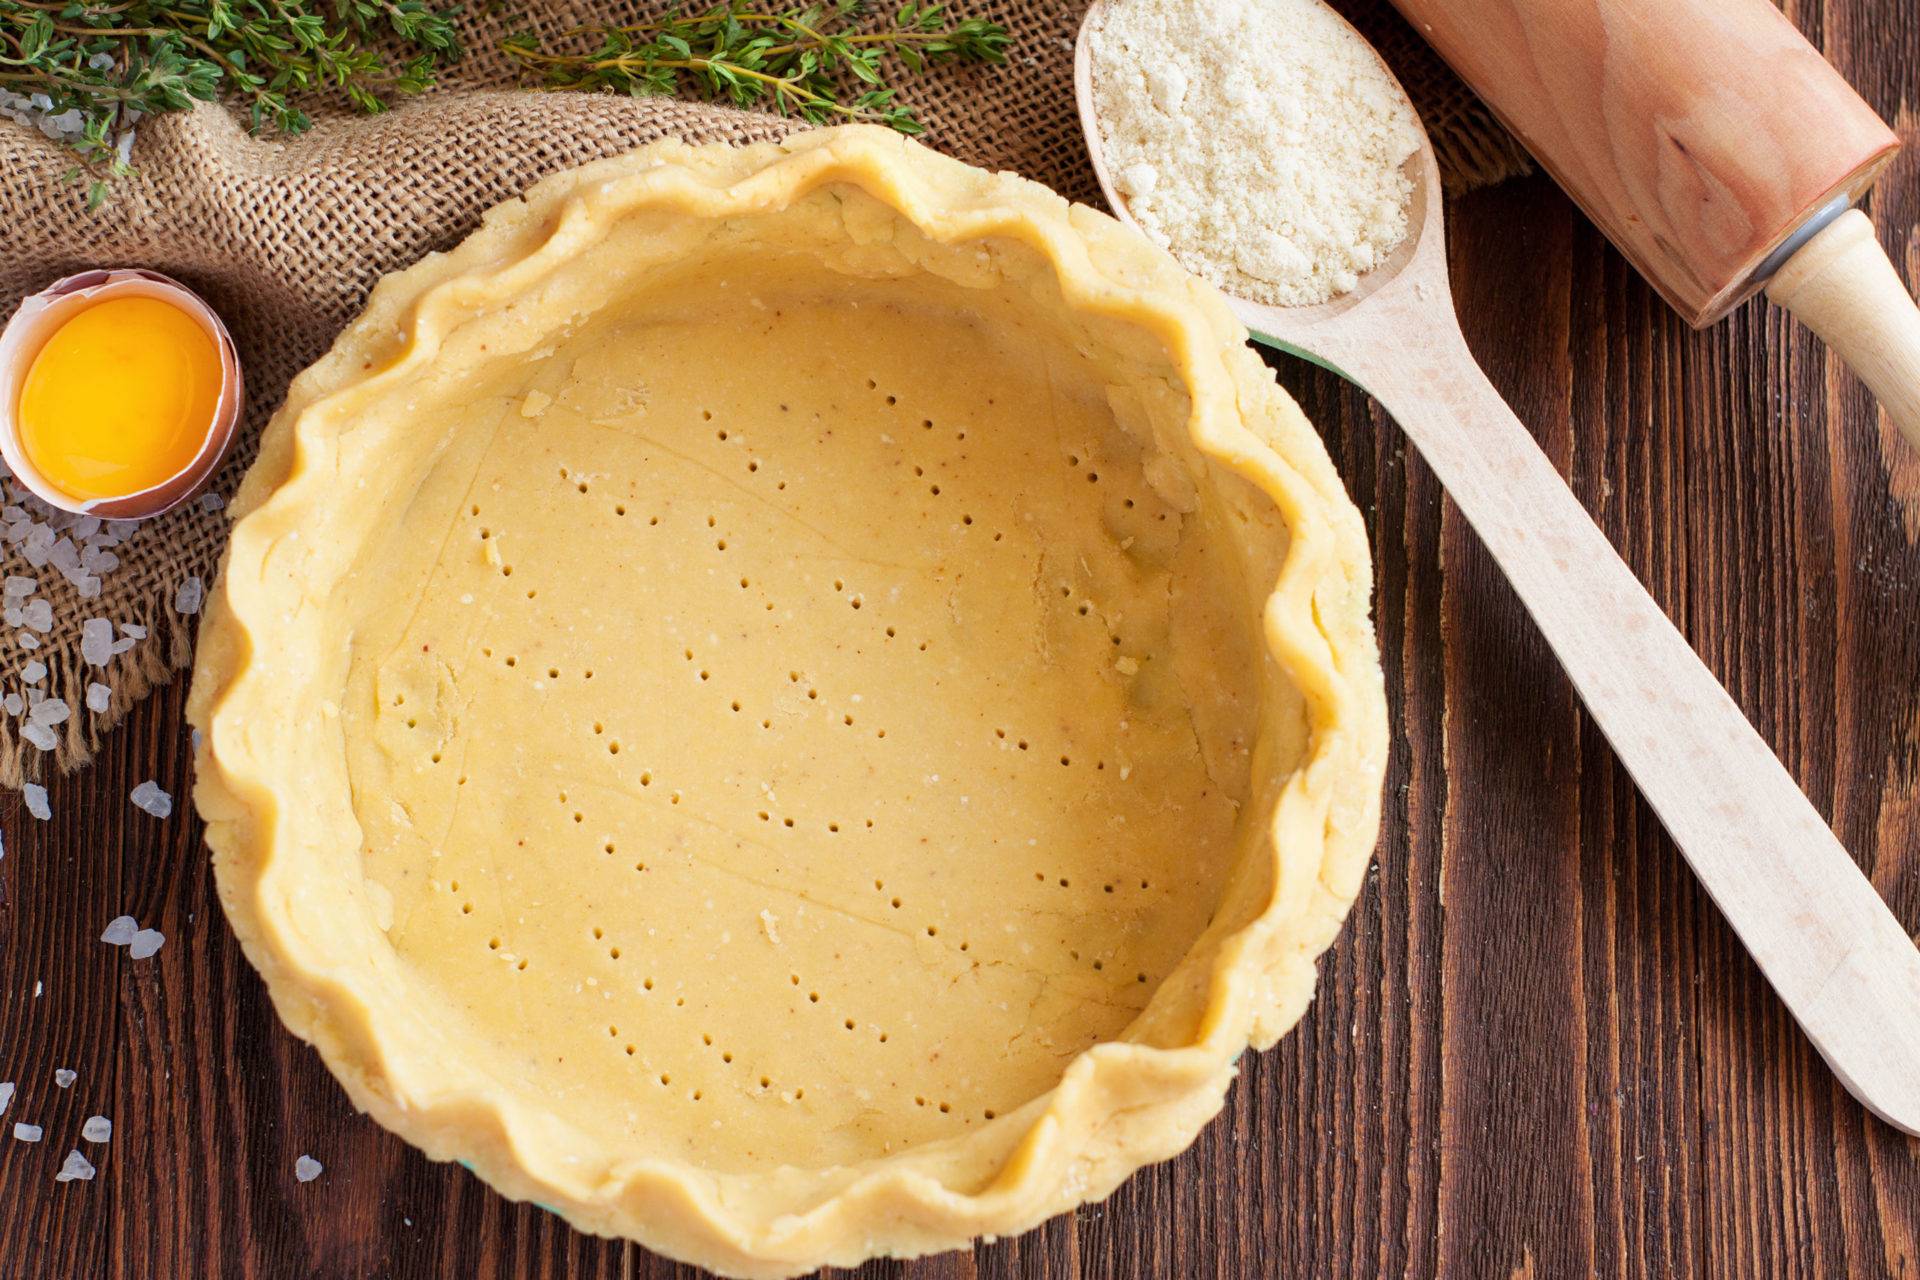
The key to achieving a flaky pie crust is keeping everything as cold as possible. When making the dough, ensure that the butter and water are chilled. Cold butter creates pockets in the dough that, when baked, turn into flaky layers. If the butter warms up too much, the crust will become greasy, resulting in a tough texture.
Pro Tip: Chill your mixing bowl and utensils too, as even a little warmth can impact the dough’s consistency.
2. Don’t Overwork the Dough
When you’re mixing and shaping the dough, remember that less is more. Overworking the dough will develop the gluten, making the crust tough and chewy. Instead, mix until the dough just begins to come together. Handle the dough as little as possible, and be gentle when shaping it.
3. Use a Pastry Cutter or Fork
To achieve the perfect texture, avoid using your hands to blend the butter into the flour. Your body heat can soften the butter and negatively affect the dough. Use a pastry cutter or fork to blend the butter into the flour. If you don’t have a pastry cutter, two forks can work just as well.
4. Add Ice Water Slowly
When incorporating the cold water, add it gradually. Too much water will make the dough wet and sticky, while too little will make it hard to bind together. The right amount of water will allow the dough to hold together when squeezed without being too sticky.
5. Rest the Dough
Once you’ve made the dough, it’s essential to let it rest in the fridge. This helps relax the gluten and makes the dough easier to roll out. It also allows the flavours to meld and improves the texture of the finished crust. Be patient, and don’t skip this step.
6. Roll the Dough Carefully
When rolling out the dough, be sure to use a light touch and roll from the centre outwards. Rotate the dough occasionally to ensure an even thickness. If you find the dough is sticking to the rolling pin or surface, lightly dust it with flour.
Pro Tip: Roll the dough between two sheets of parchment paper to avoid adding too much flour, which could make the dough tough.
7. Blind Bake for a Crisp Crust
If you’re making a pie that requires a liquid filling (like custard or pumpkin), blind baking the crust is a must. Blind baking means pre-baking the crust before adding the filling. To do this:
- Line the dough with parchment paper or aluminium foil.
- Fill with pie weights or dried beans to prevent it from puffing up.
- Bake at 180°C (350°F) for 15-20 minutes or until the edges are golden brown.
8. Seal the Edges
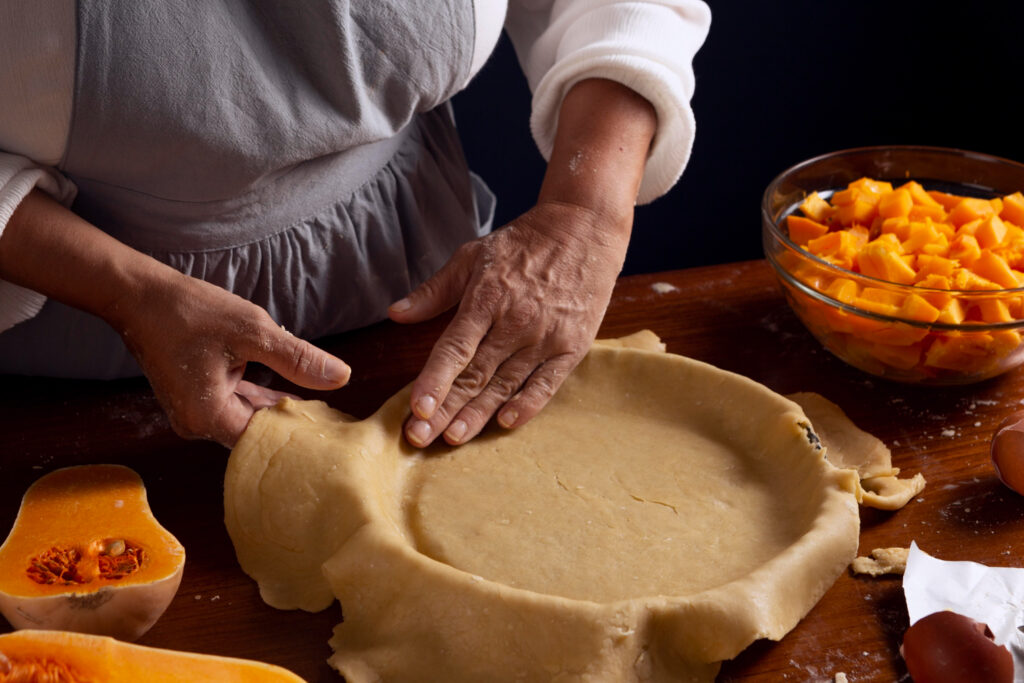
Once your pie crust is rolled out and placed in the pie dish, it’s essential to seal the edges. This not only improves the look of your pie but helps prevent leakage of filling during baking. You can crimp the edges with your fingers, use a fork to press down, or even make decorative shapes.
9. Chill Again Before Baking
After you’ve lined your pie dish with the dough and added the filling, it’s a good idea to chill the pie for an additional 15-20 minutes before baking. This helps the crust maintain its structure during baking and ensures it remains flaky.
Types of Pies That Benefit from a Perfect Pie Crust
Now that you’ve mastered the art of creating a perfect pie crust recipe, it’s time to think about which pies will benefit from your new skills. Here are a few of the best homemade pies that really showcase a delicious crust:
1. Apple Pie
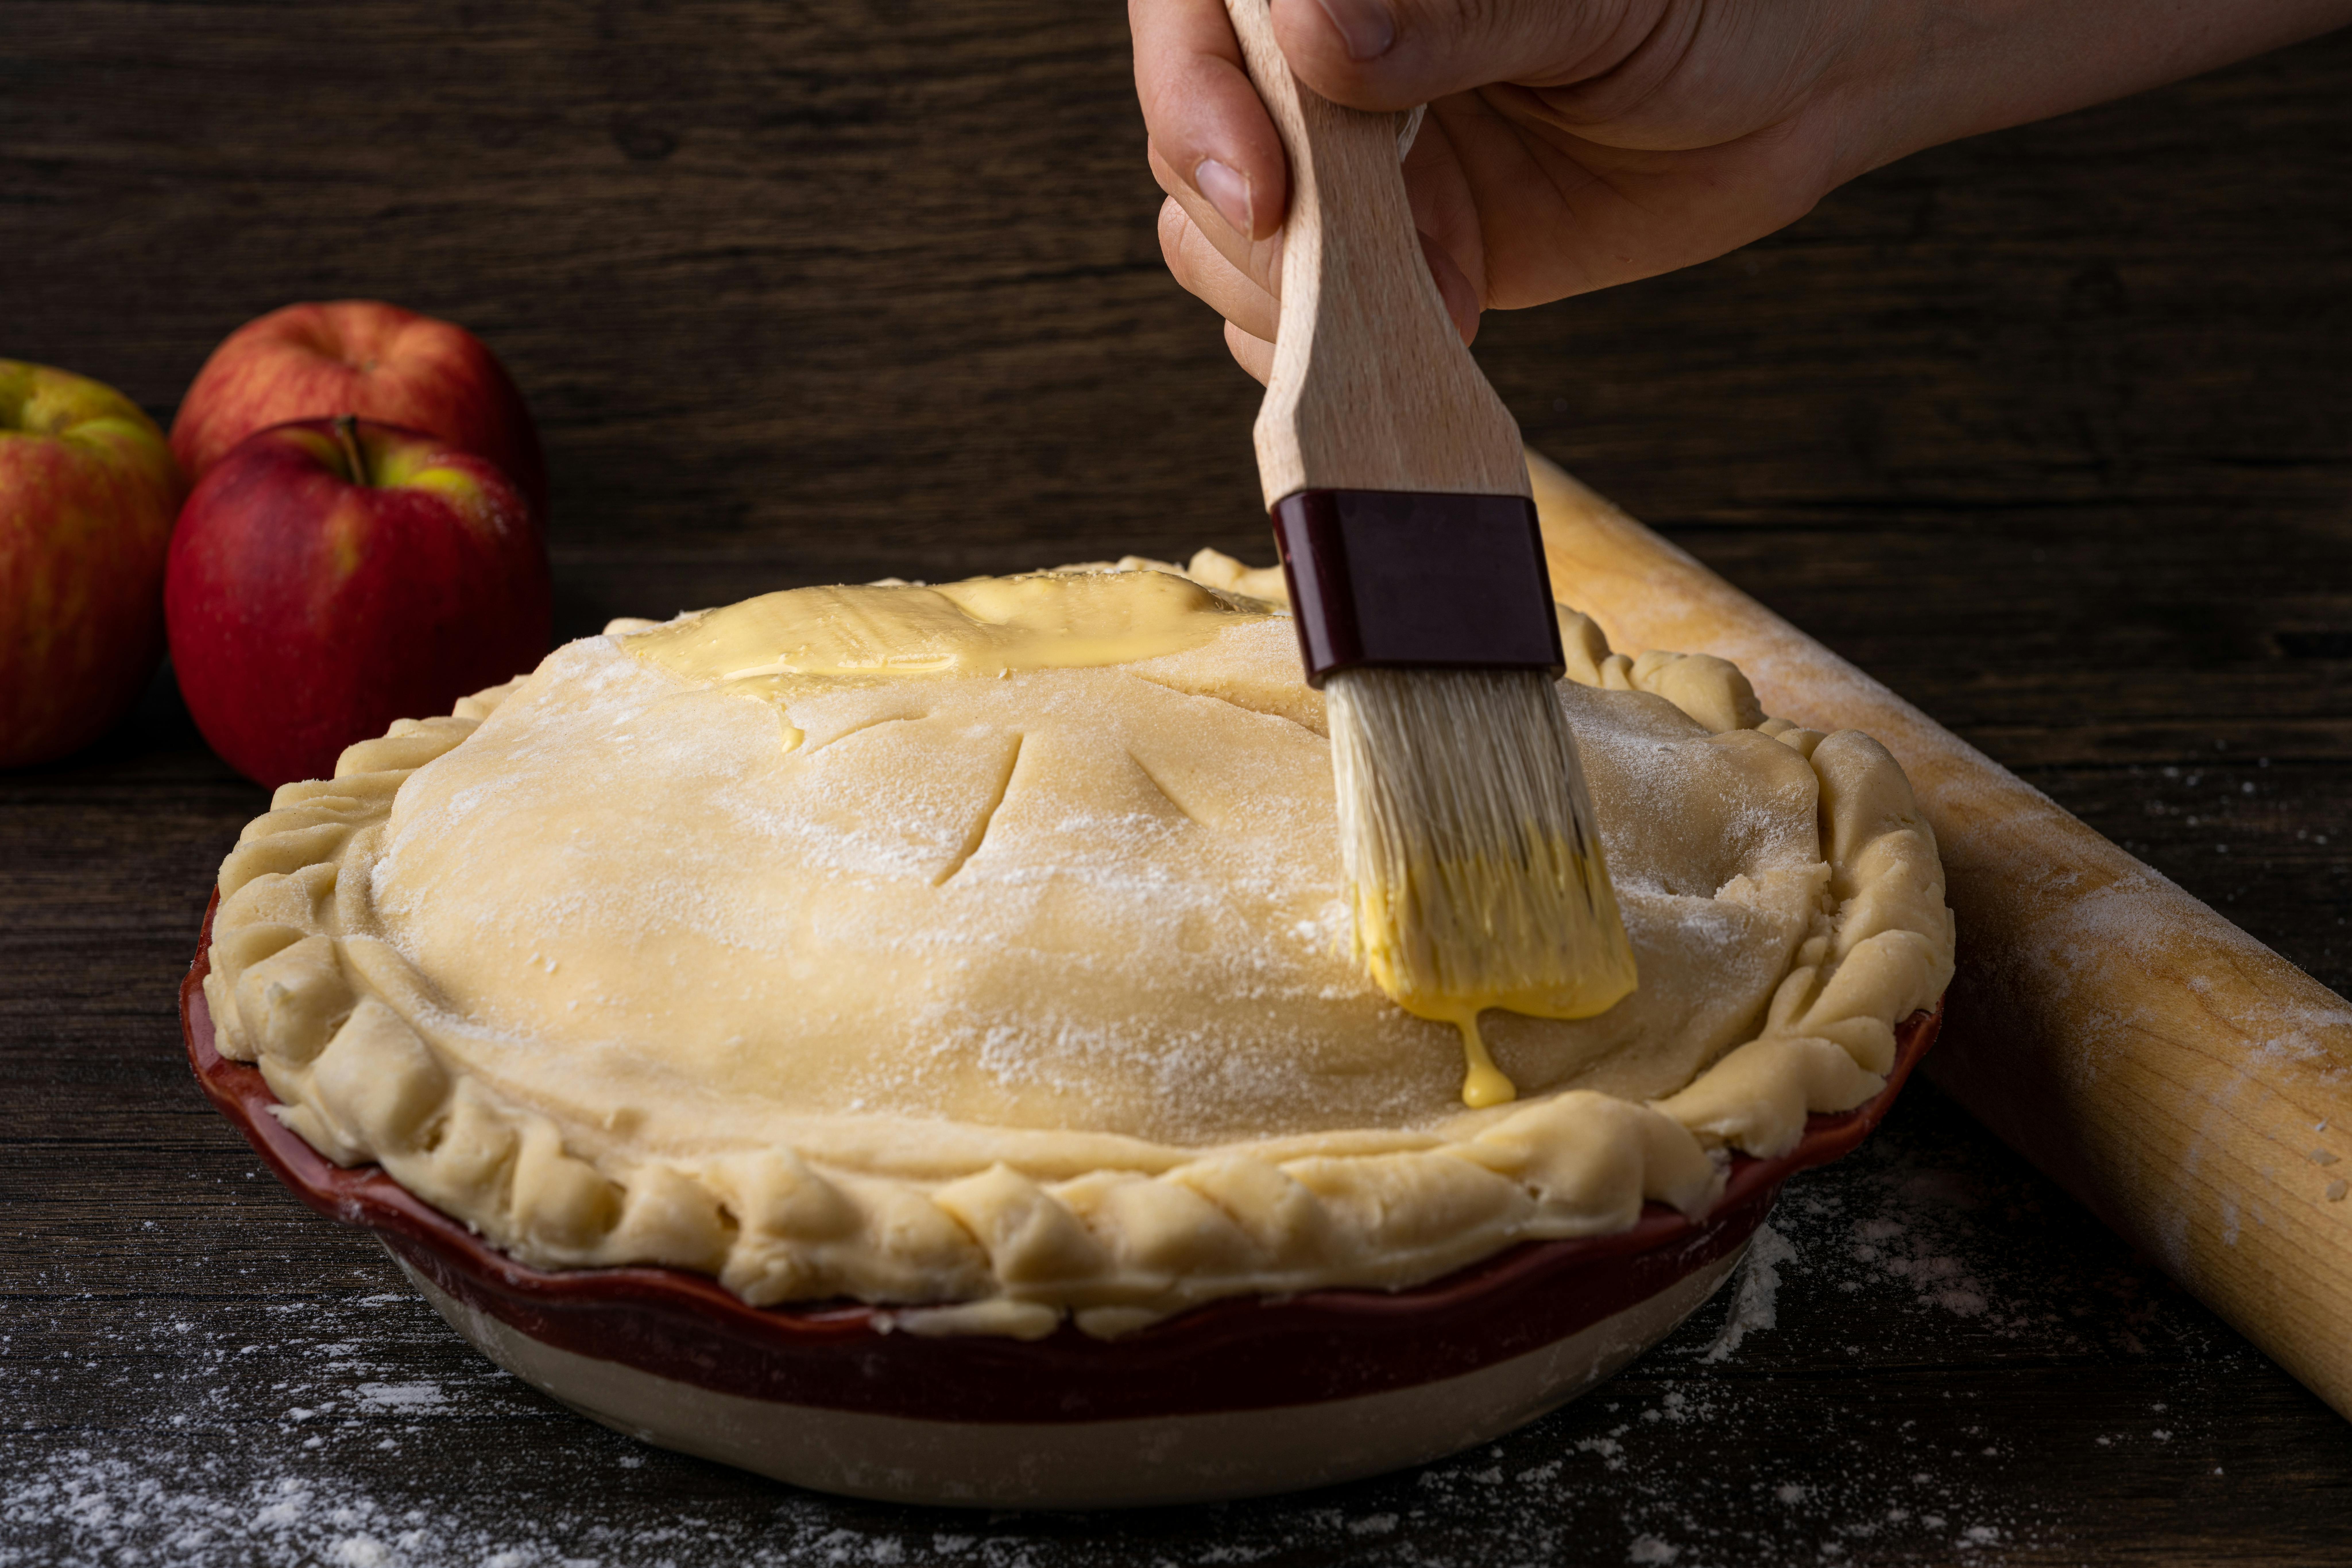
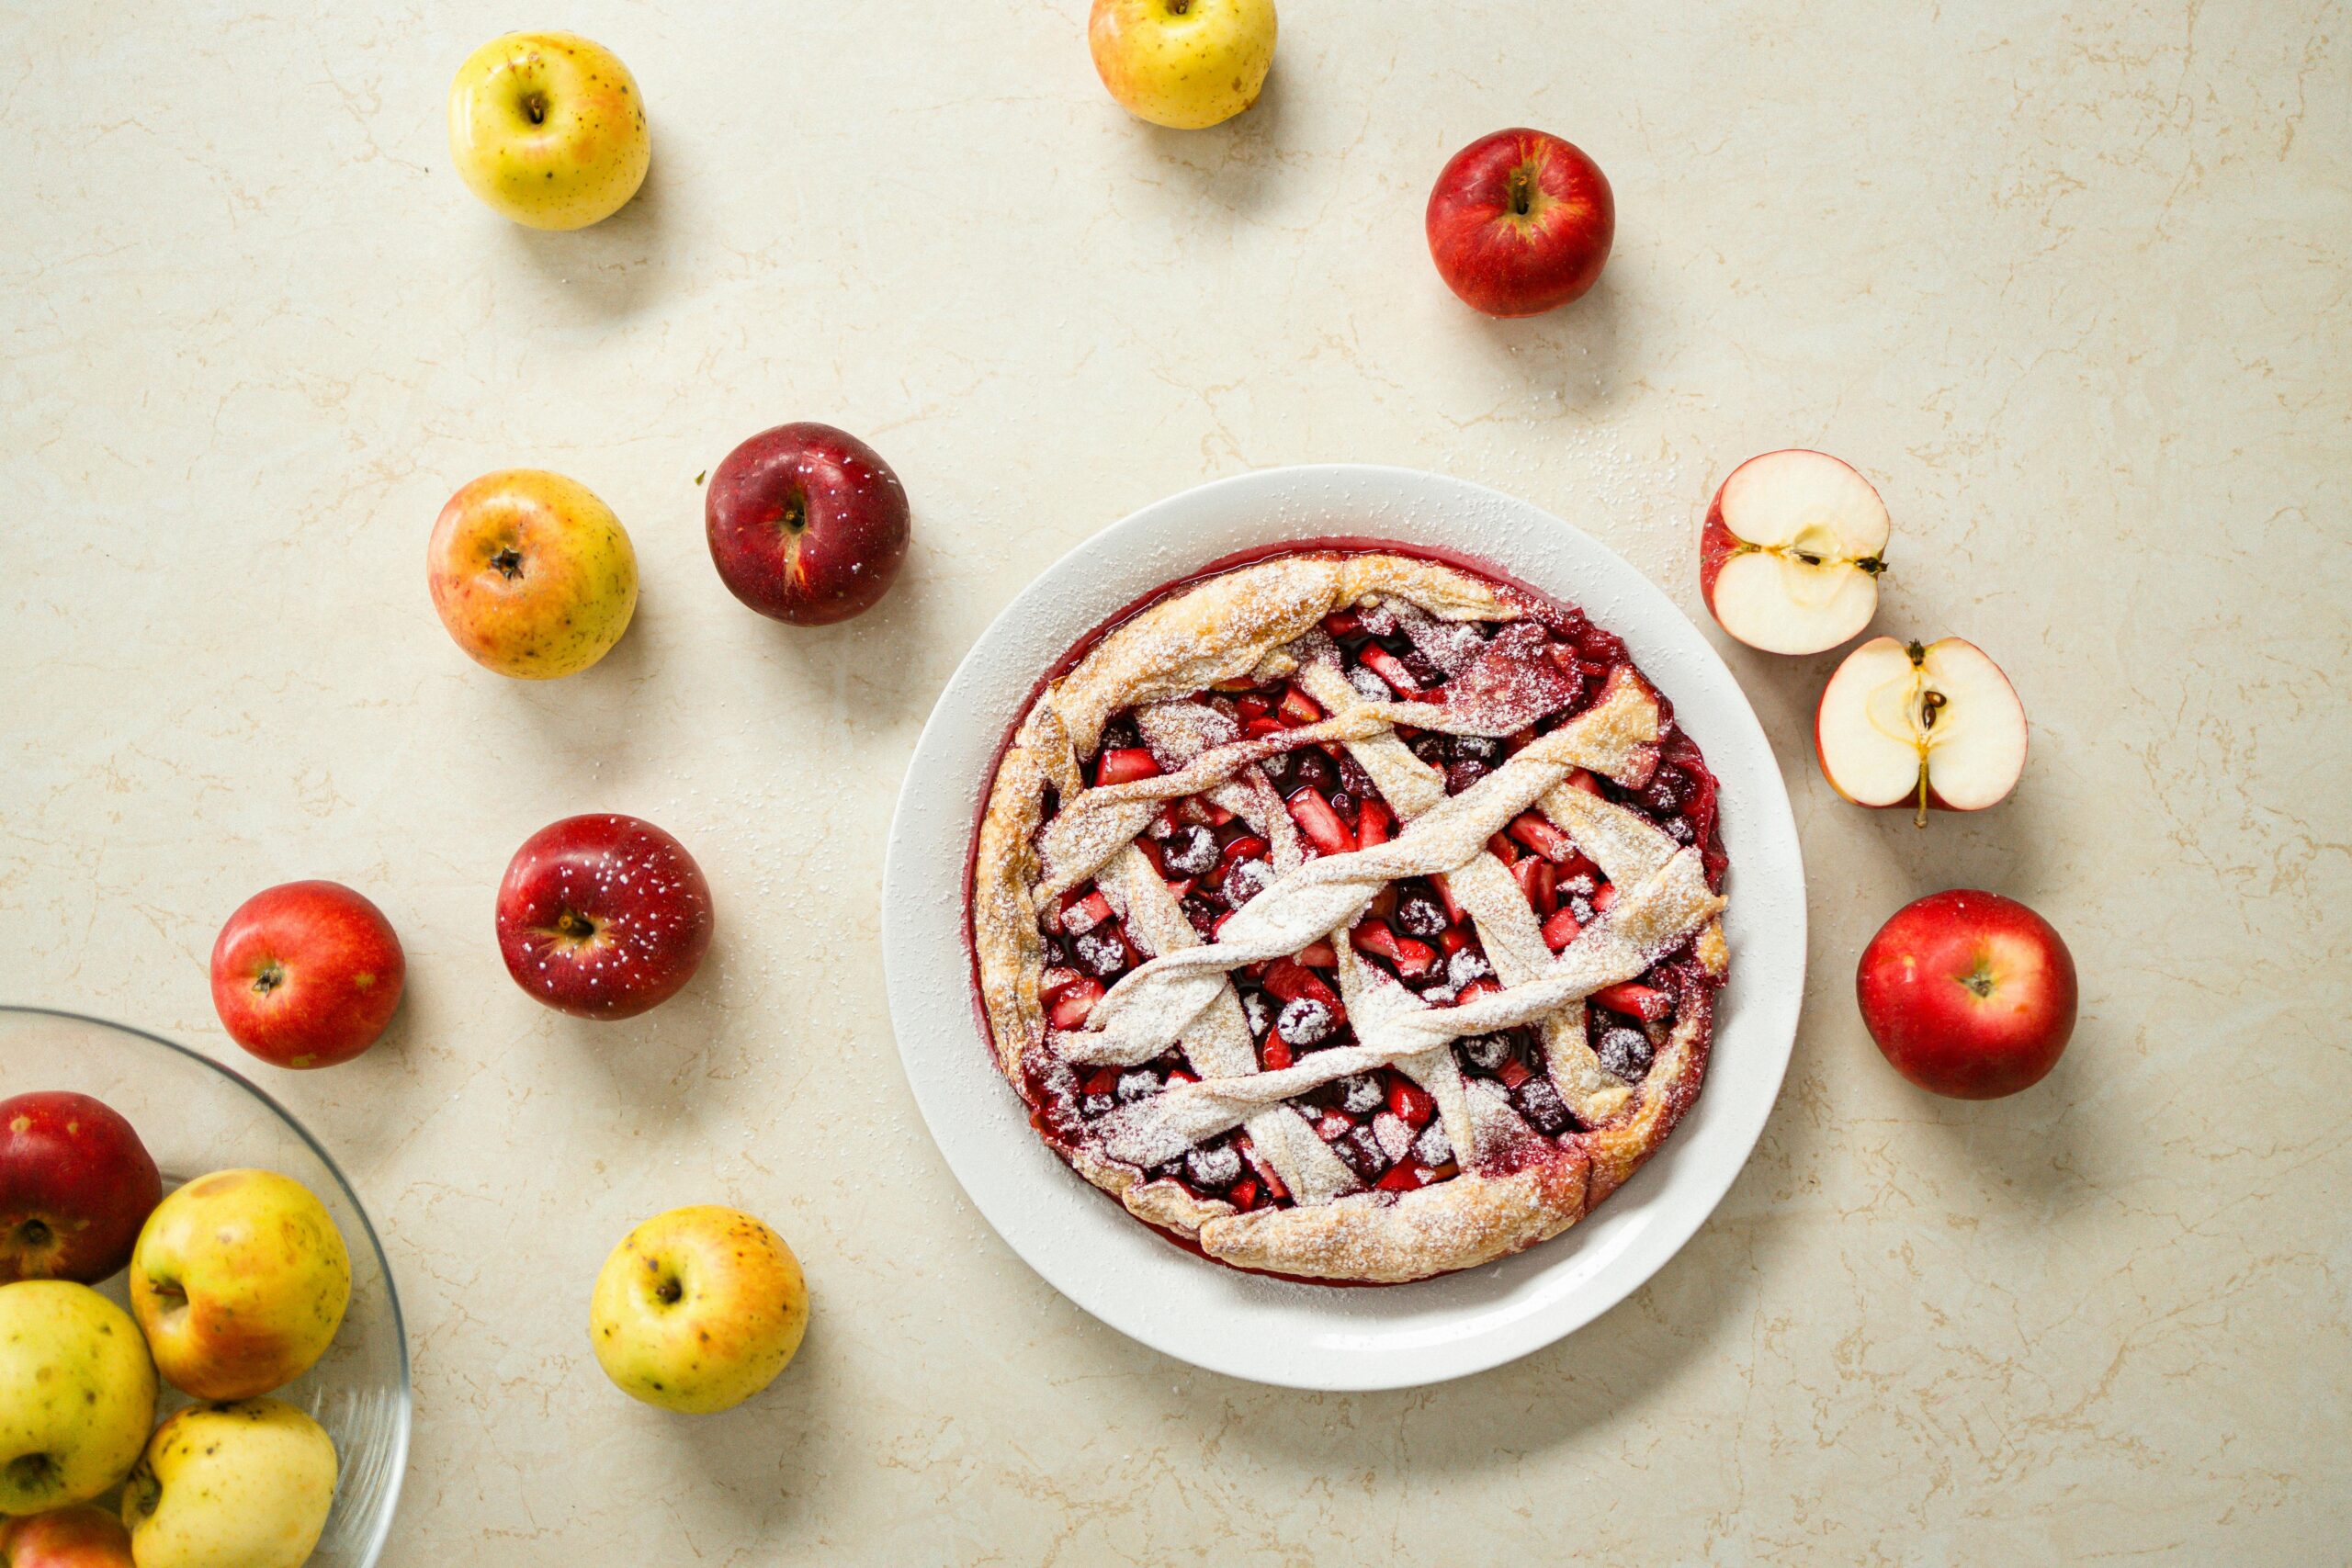
Classic apple pie is the ultimate test for your pie crust. A flaky, buttery crust perfectly complements the sweet, tart filling of spiced apples. Be sure to use fresh apples and prepare your crust as we’ve outlined above for an unbeatable combination.
2. Pecan Pie
The rich, nutty filling of pecan pie deserves a golden, crisp pie crust. Since pecan pie filling is fairly runny before baking, blind baking the crust ensures it stays crispy rather than becoming soggy.
3. Pumpkin Pie
Pumpkin pie filling is smooth and dense, making the crispiness of the pie crust essential. A well-baked crust boosts the flavour. It adds a satisfying crunch that balances the creamy pumpkin filling.
4. Cherry Pie
For fruity pies like cherry, a flaky pie crust provides the perfect contrast to the juicy, tangy filling. This type of pie also benefits from a double crust (top and bottom), so mastering lattice crust designs is a fun challenge!
5. Lemon Meringue Pie
The balance of tart lemon filling and fluffy meringue needs a solid base to hold everything together. A perfectly baked crust helps keep the filling from leaking and provides a structural base for the meringue.
Perfect Pie Crust Every Time
Making a great pie starts with baking the perfect pie crust. It’s about getting to the wisdom behind the flaky, golden masterpiece. You just have to have the right ingredients, the right technique, and a little patience. Then you’ll roll up your sleeves and make a flaky pie dough that lifts your pies to new heights.
You may be preparing something to mark an occasion or simply giving yourself a little homemade dessert. Learn to master pie crust techniques, and you will become a master baker. So, gather your ingredients, follow the tips, and get ready to eat the best homemade pies you’ve ever baked. Happy baking!


